
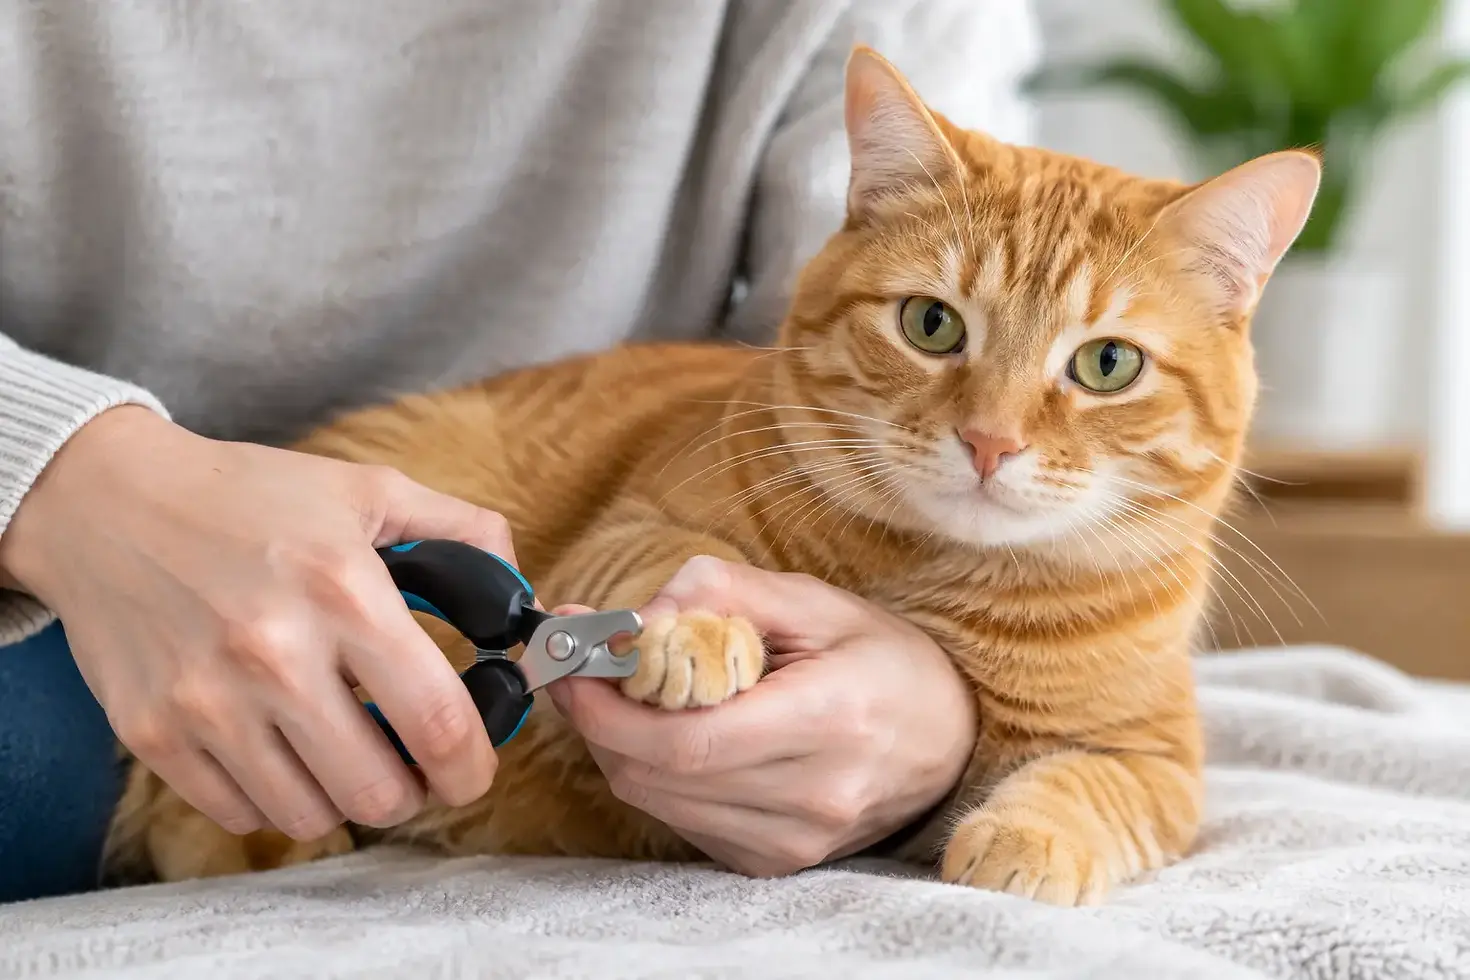
How to Teach Your Cat Cooperative Nail Trims

A nail trim that ends with hiding, wrestling, or a scratched guardian is not a sign that you have a difficult cat or that you have failed. It is information. Your cat may be worried about being restrained, startled by the clipper sound, uncomfortable in a certain position, or simply unsure what is about to happen. When you teach cat cooperative nail trims, the goal is not to make your cat tolerate something scary. The goal is to help them feel safe, informed, and willing to participate.
Cooperative care is a Fear Free approach to necessary handling, such as nail trims, medication, brushing, and carrier time. It replaces the rushed "just get it done" experience with small, reward-based lessons that protect trust. This can take more time at first, but it often saves stress for both of you over the long term.
Start with the right expectation
A successful session may mean trimming one nail. It may mean touching one paw and then stopping before your cat pulls away. That still counts. Cats learn through repeated experiences, and each calm repetition teaches them that paw handling predicts good things and that they have some choice in the process.
This does not mean there are no boundaries. Your cat may need nail care to prevent painful overgrowth, snagging, or nails curling into paw pads. But force-free care includes structure, planning, and gentle management. Your cat does not need to be scared to learn.
Before beginning, check the setup. Choose a quiet room away from other pets, children, visitors, and sudden noises. Have very small, high-value treats ready, such as a bit of canned food, lickable puree, chicken, or another food your cat truly loves. If food is not motivating, try a favorite toy, cheek rub, or a calm window perch afterward. The reward should be meaningful to your individual cat.
Teach cat cooperative nail trims in tiny steps
Think of nail trimming as a chain of separate skills, not one task. Your cat does not have to learn every part in a single sitting. Practice once or twice a day for a minute or two, ending while your cat is still comfortable.
Step 1: Build a happy station
Choose a towel, mat, bed, or stable lap position where nail care will usually happen. At first, simply place treats there. Let your cat arrive, eat, and leave. You are teaching that this spot is predictable and pleasant, not a place where they get trapped.
Some cats prefer sitting beside you rather than in your lap. Others feel safest on a counter, cat tree platform, or bed. There is no single correct position. The best position is one where your cat can relax and you can safely see the paw.
Step 2: Pair touch with something wonderful
When your cat is comfortable at the station, briefly touch their shoulder or leg, then offer a treat. Progress gradually to a gentle touch of the paw, one toe, and then the area around a claw. Touch, reward, and release.
Watch closely for subtle signs that the lesson is becoming too hard. A tail flick, turning the head away, flattened ears, tense muscles, pulling the paw back, dilated pupils, or suddenly refusing food can all mean, "Please slow down." Behavior is information. Do not hold the paw tighter or continue until your cat gives a bigger warning.
If your cat pulls away, calmly let them. Make the next repetition easier. Perhaps you touch the leg instead of the paw, or touch the paw for half a second rather than two seconds. Allowing a pause helps preserve the trust you are building.
Step 3: Practice seeing one claw
Once gentle paw touch is easy, lightly press a toe pad just enough for one claw to extend. Immediately reward and let go. At this stage, you are not trimming anything. Repeat with the same toe over several short sessions before asking for more.
Many cats are comfortable with a paw touch but dislike the pressure needed to expose a claw. That is normal. Break the skill down further if needed: touch toe, treat; lightly hold toe, treat; tiny press, treat; reveal claw, treat. Small steps are not slow training. They are clear training.
Step 4: Introduce the nail trimmer separately
A clipper should not appear for the first time just before it closes around a claw. Place it several feet away while your cat eats a treat. Over multiple sessions, move it closer. Pick it up, reward your cat, and put it down. Touch the closed clipper gently to a paw, reward, and remove it.
You can also make the clipper sound away from your cat's body, then offer a treat. If the sound causes concern, increase distance and return to an easier step. A nail file or grinder may work better for some cats, but others find the vibration or sound more upsetting. It depends on the cat, so let their behavior guide the choice.
Make the first trim almost too easy
When your cat is relaxed with a visible claw and the clipper nearby, trim only the sharp, transparent tip of one nail. Reward generously, then end the session. Do not keep going because your cat was "being good." Stopping early helps the experience stay positive.
Avoid the pink area inside the nail, called the quick. It contains blood vessels and nerves and will hurt if cut. If your cat has dark nails and you cannot clearly see where the quick begins, trim only a tiny amount from the very end or ask a Fear Free veterinary professional to show you how.
Over time, your cat may be comfortable with two or three nails per session. Some will eventually allow a full paw or a full trim. Others will always do best with one nail at a time across several days. That is not a failure. Regular, low-stress care is more valuable than completing every nail on a rigid schedule.
Know when to pause and seek help
Stop the session if your cat becomes highly distressed, struggles intensely, growls, hisses, swats, bites, or cannot take food. These responses are not defiance. They are communication that your cat does not feel safe enough to learn at that moment.
Do not punish warnings or force your way through them. Punishing growling can suppress a warning without changing the underlying fear, making future handling less predictable and potentially less safe. Instead, give your cat space and reassess the training plan.
If your cat suddenly objects to paw handling after previously accepting it, schedule a veterinary exam. Arthritis, an injured nail, sore paw pads, skin conditions, and other medical concerns can make trimming painful. Senior cats and cats with mobility changes may need extra support, softer positioning, and shorter sessions.
For nails that are overgrown or curling toward the paw pad, professional help may be needed promptly. Your veterinarian can address urgent nail care safely and help you create a plan that prevents another stressful crisis.
A few practical details that matter
Trim when your cat is naturally calm, perhaps after a meal or a gentle play session, rather than when they are alert and ready to race through the house. Keep sessions brief, use sharp cat-sized clippers, and replace dull tools. Dull clippers can crush rather than cleanly cut the nail, which may feel unpleasant.
It also helps to separate nail care from moments your cat values, such as cuddling on the couch. If every affectionate interaction turns into handling practice, your cat may begin to avoid closeness. Build cooperative care into its own short routine, then let affection stay freely chosen.
Most importantly, measure progress by your cat's comfort, not by speed. A cat who walks to their mat, offers a paw touch, eats a treat, and leaves calmly after one clipped nail is learning a skill that can support their wellbeing for years.
If nail trims have become a source of stress in your household, you do not have to solve it through fear, force, or judgment. Purrfect Paws University can help you understand what your cat is communicating and create a kind, practical cooperative-care plan. Schedule a free phone consultation when you are ready for support that protects both your cat's paws and your relationship.


Comments